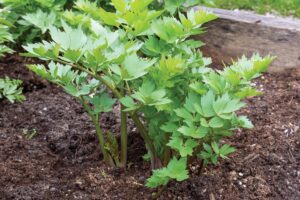
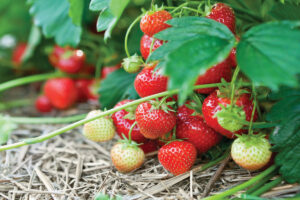
Getting a tasty harvest or a fresh-cut bouquet starts with a good beginning. While buying plants from a garden center is easy, it limits your choices. Starting your own plants from seed offers more variety and control, and it’s cost-effective. Seed starting is a science, so let’s explore how to improve your skills from beginner to green thumb.
Level one — how to plant a seed
Common sense would suggest seeds go into the dirt. In most cases, that is correct. However, there are some seeds that require light to germinate, such as lettuce. Those germinate best when sown on top of the soil. Generally speaking, the larger the seed, the deeper it gets planted. A rule of thumb is to plant seeds at a depth that’s two to three times their width. Some seeds are tiny, like small grains of pepper. A sneeze while planting these would spell disaster.
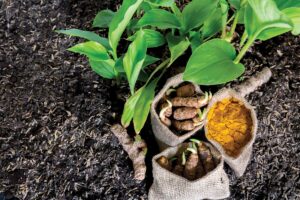
A critical first-level piece of knowledge is using the correct type of media to plant the seeds. Notice, I did not say “soil.” Seed starting often uses a soil-free potting mix. These are typically peat or coir-based mixes designed for starting seeds. There are other seed-starting mixes out there, such as soil blocks, but for level one, I’d suggest using a bagged soil-free mix designed for seed starting.
Seeds need an even level of moisture. In other words, not saturated and not bone dry. Containers should have holes in the bottom to allow excess moisture to drain away.
Level two — timing
Understanding seed planting and potting mix will allow you to start plants any time of year, but often gardeners have a specific target to hit for harvest within the growing season. Start your tomatoes too early and they will be a vining mess by the time it is safe to plant them outside. Start tomatoes too late and you won’t get a harvest until the first fall frost. Fortunately, seed companies have done this homework for you. Seed packets often come with instructions on when to sow indoors, when it is safe to plant outside and days to maturity.
When reading seed packets on timing sowing and planting, I prefer to have a calendar or even draw out a timeline to help visualize when I should be sowing, hardening off seedlings to acclimate them to the outdoors, and then planting in the garden.
Level three — supplemental light
While levels one and two might get you by with a few pots on a windowsill, if you want to start growing dozens of plants from seed, you’ll need to invest in some artificial light. A single window often cannot provide enough light to support several trays of seedlings.
Achieving sufficient light levels will require some type of supplemental light. There are a lot of options when it comes to light fixtures. LED lighting has become quite popular due to improved control of wavelengths, intensity and lower energy costs. While I have LED fixtures on my seed-starting rack, I also have some basic shop light fixtures with T5 fluorescent bulbs that work just as well.
The important thing is to provide adequate duration of light. Since light fixtures can’t put out enough light energy compared to the sun, it is often recommended for fixtures to remain on for around 16 hours each day. To accomplish this, an automatic timer will be your best friend.
Keep leveling up
As I said, there is a lot to know about seed starting. Entire books are written on the topic, and of course, we can’t get into all the nuances in a single article. Additional items such as heat mats, airflow, disease control and watering are crucial and become clearer with experience. If you have a passion for gardening, seed starting can be a truly rewarding endeavor.