Are you limited on gardening space this year? Do you hate having to bend down to weed, or maybe you’re not quite ready to build more permanent raised beds? Straw bale gardening may be the option for you.
Straw bale gardening is fun for all gardeners but a particularly useful option for people who have poor soil conditions, limited mobility or limited space to garden.
Before getting started, you will need a few basic items: straw bales (hay bales are not recommended because they tend to sprout grass weeds); newspapers to act as a weed mat (unless bales are being placed on concrete or asphalt paving); a fertilizer source that contains nitrogen, like urea, blood meal or bone meal to condition the bales; a water source to wet the bales and water-in the fertilizer; soil or compost if you are directly planting seeds; and a hand trowel to place transplants into the straw bales.
First, decide the design and placement of your straw bale garden. Your garden can consist of one bale to as many as you have space for. Bales can be arranged in a straight line, blocks or even as complex as a labyrinth.
Several layers of newspaper should be lined on the ground under the bales before placement to prevent grass and weeds from growing around the bales and keep weeding to a minimum. Position the bales so that the baling twine is parallel to the ground.
Once the bales have been positioned, the next step is to condition them. Conditioning initiates a natural composting process within the bales, and during this time, the temperature within will increase significantly. This process will take a few weeks (longer in cooler temperatures), so you will want to plan ahead and do this before you plant. Bales held over from the year before, and still in good enough condition to plant, will not need to go through this step (bales will usually last only one growing season, two at the very most).
To start the conditioning/decomposition process, water the new bales thoroughly and keep them wet for three days. As the inside of the bales begins to decompose, they will begin to warm up. On days four, five and six, sprinkle the top of each bale with one cup of ammonium sulfate (21-0-0) or one-half cup of urea (46-0-0) to speed up the process even more. Water the fertilizer in each day after each application.
On days seven, eight and nine, cut the amount of fertilizer per bale in half. Continue to water in the fertilizer but take care not to water excessively to avoid runoff and leaching of the nitrogen out of the bale. On day 10, stop adding fertilizer, but keep the bales moist. On day 11 and every day thereafter, start monitoring the heat of the bale. This should be done before moistening or a false reading will occur.
Though not necessary, a compost thermometer is a handy tool to monitor bale temperatures. Otherwise, stick your hand into the bales to see if they are still warm to the touch. Continue to monitor the bales daily until you sense them to be less than your body heat; at which time you may safely begin planting.
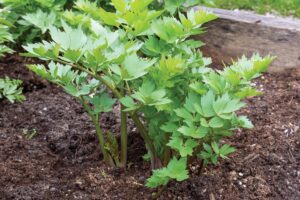
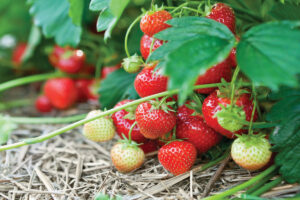
Plant transplants just as you would if they were being planted in the ground, using the same spacing. Using a sharp trowel, separate a pocket in the straw and place the plant inside the pocket, down to the first leaf, and let the straw fill in around it.
For direct seeding, place a thin layer of compost mixed with soil on top of the bale (deep enough to hold the seed), and plant the seeds directly into the soil. Cover the seeds with a light dusting of soil or peat moss and water.
You can find bales at your local farm or garden centers.