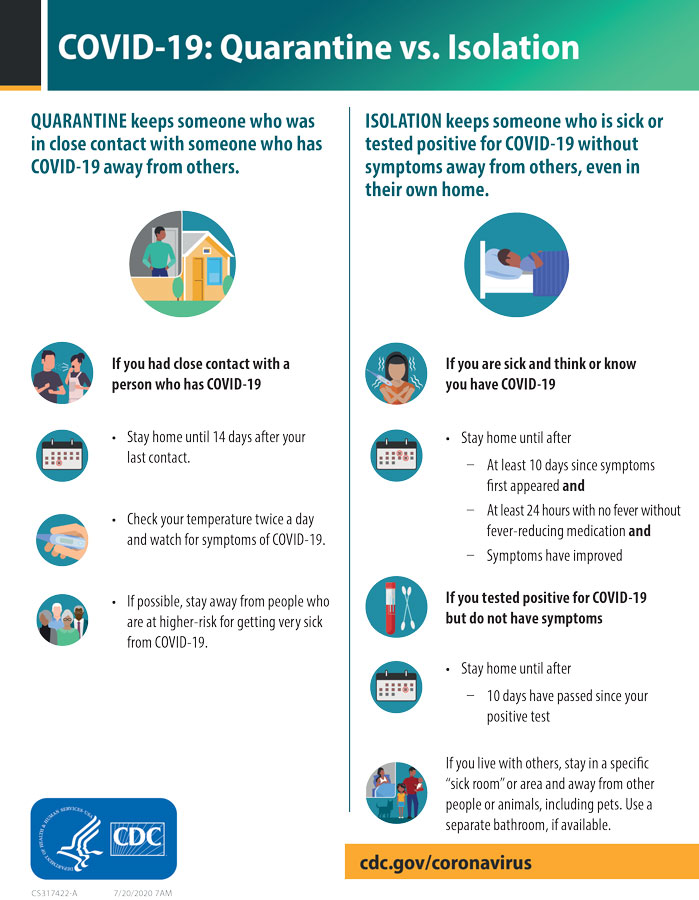
Dear Pat and Brad: I’m convinced we could reduce our high heating bills if we add more insulation to our attic. How do I make sure everything’s done right? – Kelly
Dear Kelly: It’s great that you’re focused on your attic, as this is often the area you can get the most bang for your buck on energy efficiency investments. Insulation is actually just one part of the energy-efficient attic puzzle. Here are a few tips to keep in mind as you prepare to make your attic more efficient.
Step 1: Sealing
Attics are often the place where warm air leaks out of the home in winter or into the home during summer. Trouble spots include anything that comes through the attic floor, such as recessed lights, the chimney, the attic hatch and pipes, and ducts or wires.
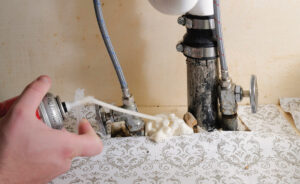
It’s best to properly seal these trouble spots before adding or improving the insulation. Invest a small amount of money in necessary supplies, like caulk, expanding foam or weather stripping, to seal any air leaks.
Step 2: Ventilation
Many attics are under-ventilated, which allows moisture and heat to build up. Moisture causes harmful mold and wood rot. During summer, a poorly ventilated attic is prone to overheating, which can bake shingles and shorten their life. During winter, a warm attic can melt snow on the roof, causing it to run into your gutters and freeze, causing ice dams.
Proper attic ventilation lets air flow from a low point to a high point. This is usually done by installing soffit vents and insulation baffles around the perimeter, plus vents near the peak of the roof. If there is no way to install enough attic ventilators, an attic fan can be installed to provide mechanical assistance to exhausting overheated air.
Step 3: Insulation
The three main types of insulation for attics are loose-fill, batt and rigid. Whichever type you have, it needs to provide a high enough level of insulation for your region, measured in R-value.
Batt and rigid insulation will often have the R-value printed on them. Loose-fill, which is blown in, is the most common for attic floors, and its R-value is approximately its depth in inches multiplied by 2.8. Generally speaking, your attic should have 14 to 24 inches of loose-fill insulation if you live in a northern state and 11 to 14 inches if you’re in the south. You can find the recommended level for your region at energy.gov.
If you have loose-fill insulation less than the recommended amount, you should be able to add more on top of it, as long as there aren’t any moisture, rodent, ant or termite problems. If your existing loose-fill insulation was installed before 1990, it could be Vermiculite, which may be contaminated with asbestos. Asbestos can cause cancer when particles are released into the air, so it’s a good idea to have the insulation tested. If it’s contaminated, have it removed by a professional before beginning work.
Remember to seal and insulate any walls in the attic that border conditioned space, such as skylight openings.
Some of these steps can be challenging, so consider hiring a professional contractor. If you’re a DIY pro and decide to do some of the work on your own, be aware of potential hazards. Disturbing old wiring can cause shorts in your electrical system, and roofing nails will often pierce the attic ceiling. First and foremost, always remember safety when tackling projects at home.
We hope these tips will help you take the next steps to a more energy-efficient attic.